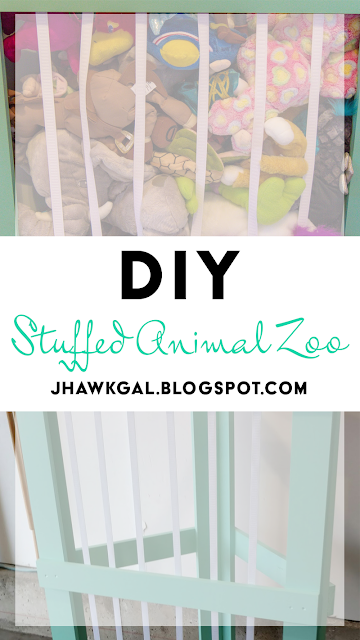
DIY: Corner "Zoo"
Hey all! I'm back with a project we worked on this weekend.
After talking my husband into actually getting this done Sunday morning, we headed off to Lowe's to gather the supplies. I wanted a 4-foot tall zoo with 2-foot long legs.
Here's the stuff you'll need for those measurements [if you want different sizes, you're on your own, pal. My brain is math'd out.]:
- [6] 8-foot boards
- Screws[We used 1-1/4 in. (3.18cm) exterior screws]
- [2] 9' packages of elastic [I got ours at Walmart in the craft section] - You can also substitute these with bungees but I couldn't find any that I thought would work well.
-1 quart of paint in any color [I barely used any so you could probably even get away with the samples they will mix you at Lowe's].
TOOLS YOU'LL NEED:
- Saw- Drill
- Staple Gun [not pictured because my husband hid it from me, apparently]
- Measuring Tape
- Paint Brush
- Sandpaper
First off, measure and cut the wood. You'll need [6] 2' boards, [6] 4' boards and [3] 2.83' boards.
We built our zoo in sections. We started with the corner. For the corner, we screwed one 4' board into another.
Next, we attached [3] 2' boards to each side. Be sure to measure to make sure the middle board is actually in the middle.
Because we screwed one of the 4' boards into the other, they were uneven on the sides. No big deal because it was going to be in the corner and I don't think the kids were going to be critiquing our handy work [we could've used brackets but that's just one more thing you have to buy].
So, when you're screwing the 2' boards into the back, make sure to make up for the difference on the side that's longer. This ensures that each of the 2' boards are the same length.
After that you can screw two more 4' boards to the ends. [no picture, sorry!]
Next we did the front section. Screw the [3] 2.83' boards to [2] 4' boards. Again, don't forget to measure to center the middle board!
After this, I sanded down any rough edges and painted all of the boards that would be showing. I don't have photographic evidence because by that point, Addi was up from her nap and attempting to "help" us with the project. This resulted in a sawdust party and attempts to keep her away from the paint. You get the gist.
Next, using your staple gun, staple the elastic to the boards. I did each edge with 3 staples for some extra stability. These will probably get a lot of "love" when your kids take their animals in and out, so we need to prepare for the worst.
Since we were working on this project on a Sunday, I couldn't go to Hobby Lobby to get the embellishments I wanted. I took care of that Monday. I bought wood letters and spray-painted them with shimmer metallic spray paint. I also found some cute metal butterflies that I thought would add some extra color. [All purchased at Hobby Lobby..on sale to boot!]
Once the embellishments were on [I used hot glue to put them on], we took the two sections into her room and Matt screwed the front into the sides at each corner. We didn't screw it into the walls but if you're worried about your kids tipping it over, do that first [before you attach the front section].
I used the embellishments to cover up the screw holes on the top & used paint to cover the others.
So there you have it! Our zoo!
Addi's obsessed with it. She kept calling it her birthday present? No idea where that came from. Her birthday isn't until November. Weirdo.
I hope this was easy to understand! I tend to forget steps so if you have questions feel free to ask me in the comments!
Stay awesome, bloggers.


Comments
Post a Comment
Thoughts? Love to hear 'em.